
Meteor.js is an up and coming, real-time, full stack javascript framework. For this tutorial, we’re going to cover how to get your meteor.js app up and running on a Digital Ocean droplet running nginx.
Disclaimer: the above link to Digital Ocean is a link for Digital Ocean's referral program. If you don't want to be a part of that, here's the link without our referral program attached.
We’re not going to go through all the reasons why you should use meteor.js, chances are you wouldn’t be here if you hadn’t already made the decision that meteor is rad (and who could blame you if you felt that way). Instead here’s what we assume you know:
Without further ado, let’s create our Digital Ocean Droplet. First, login and then click the green “Create Droplet” button. Name your droplet whatever you want, we usually name it the name of our app. Since this app is not a production app, we will select the $5/month version. If you are running production, we recommend at least using the $10/month set up.
Now select your operating system. Unfortunately, Digital Ocean does not provide blank NginX or Apache images yet so just select Ubuntu 14.04x64, and we’ll be on our way.
Once your droplet is created, you will receive an email from Digital Ocean. Copy those credentials somewhere safe. They’ll look something like this:
Your new Droplet is all set to go! You can access it using the following credentials:
Droplet Name: yourdropletname
IP Address: 000.000.000.000
Username: root
Password: dfgiouytgfhj
Now let’s login via ssh. On your first login the system will prompt you to update your password, this is how that will go. Open your terminal (if using linux or mac, windows users, please use the command line client that you prefer) and SSH into your droplet:
ssh root@000.000.000.000
Your first login will return
The authenticity of host '000.000.000.000 (000.000.000.000)' can't be established.
RSA key fingerprint is .
Are you sure you want to continue connecting (yes/no)?
Enter yes and your next step will be changing the password. The system will prompt you first for your original password. Enter the password sent to you by Digital Ocean. Next, enter your new password twice.
As a matter of practice, we always set up a memory swap in our Ubuntu virtual machines. This is just a measure to make sure our server doesn’t fail when memory loads reach 100%. This step is optional, but if you want to know how to do it, instructions are here.
We’re now ready to install nginx. It’s a very easy and painless process. For more information than this tutorial, check out this Digital Ocean how to. For this tutorial, I’ll quickly run through the commands. First run the following command:
sudo apt-get update
Then install nginx. You will be prompted to choose yes or no for this step. Enter Y to continue.
sudo apt-get install nginx
If you’ve followed these steps, visit your IP address for your droplet. You should see:
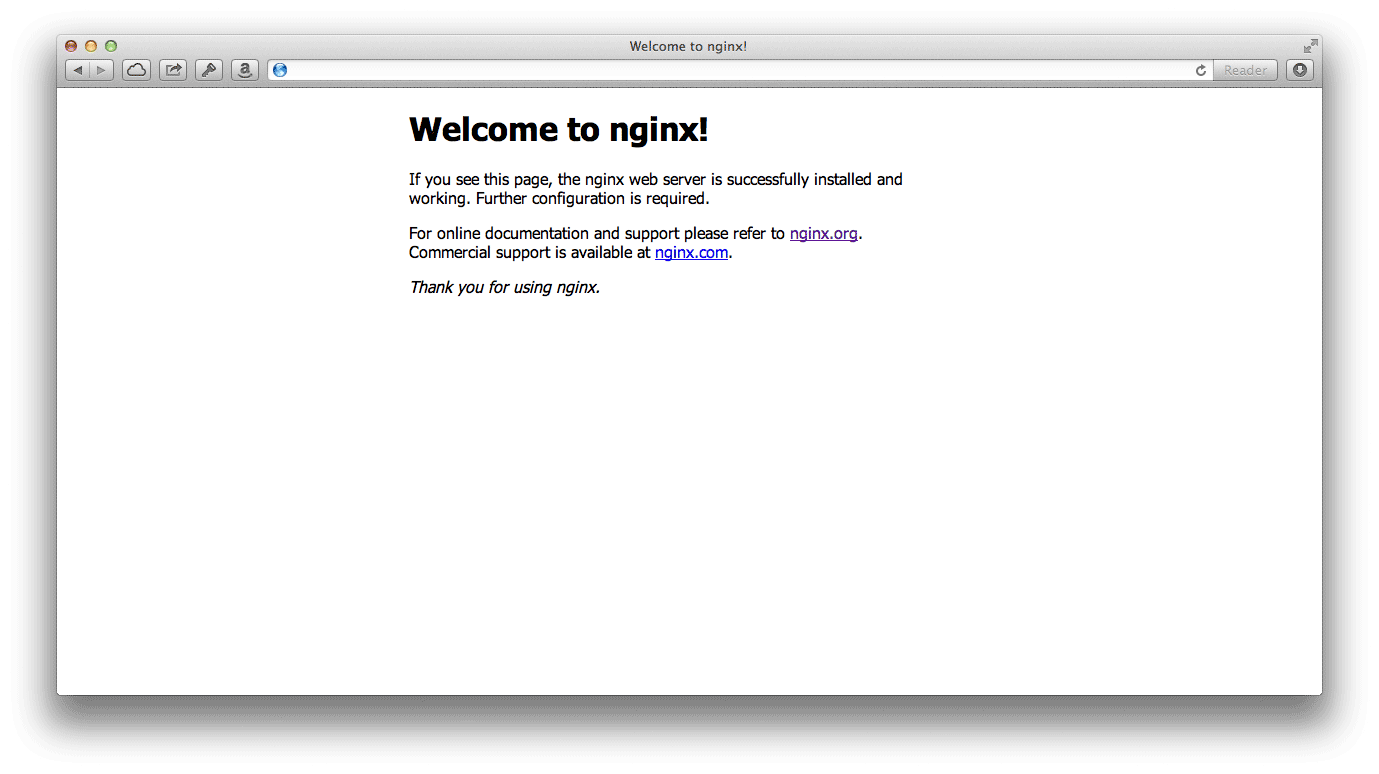
You’re basically done with nginx now. Here are a few commands to help you moving forward with nginx.
sudo service nginx stop
sudo service nginx start
sudo service nginx restart
Because you’re using meteor, we’ll go ahead and assume that you also have npm installed on your machine. If you don’t, please check this tutorial out.
So what is mup? It’s a command line tool that deploys any meteor.js app to any server; it’s also awesome.
Installing mup is literally one command:
npm install -g mup
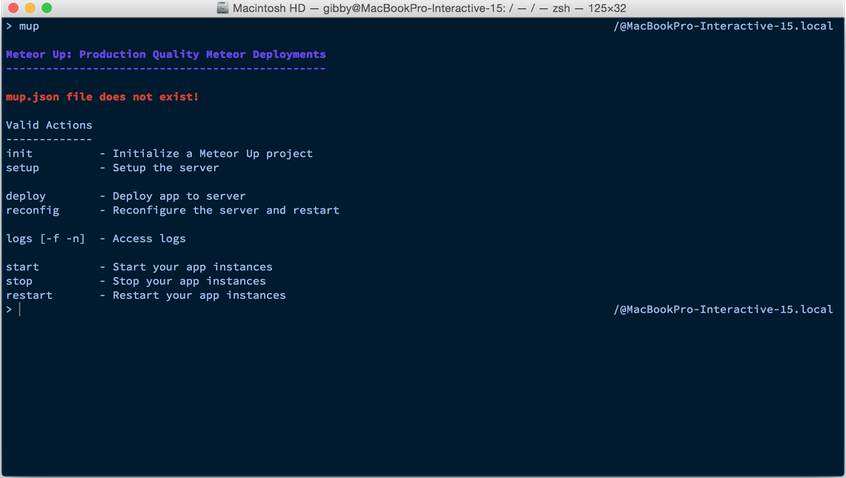
That’s it. If you’re not sure it worked or want to make sure, run the following command.
mup
If you get the following screen, mup was installed correctly.
Now we need to set up our mup settings. For this example we’ll be using the X meteor boilerplate which we’ll release later this summer.
First navigate to your project directory and create a directory for mup to use. We call it “.deploy”
cd yourAppDirectory
mkdir .deploy
Now let’s navigate into our .deploy directory and initialize mup.
cd .deploy
mup init
Your terminal should now show you that a project has been initialized. That will look like this.
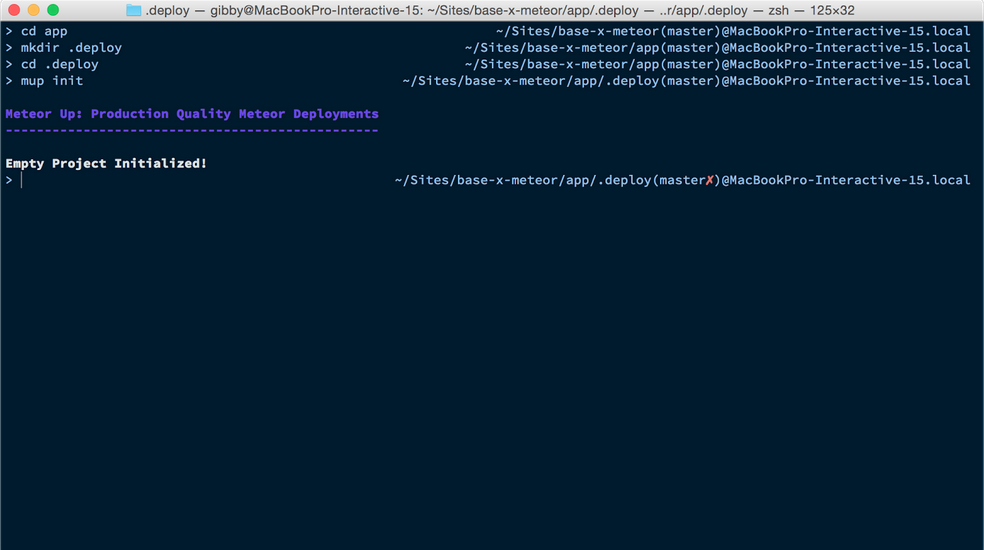
Initializing mup is going to create a file called mup.json which contains all the information that mup will use to set up your app. There is an option to set up SSH keys, but we will not cover that here. Instead, we’ll be using password based authentication.
{

 // Server authentication info

 "servers": [

 {

 "host": "0.0.0.0",

 "username": "root",

 "password": "yourpasswordhere!"

 // or pem file (ssh based authentication)

 //"pem": "~/.ssh/id_rsa"

 }


 ],


 // Install MongoDB in the server, does not destroy local MongoDB on future setup

 "setupMongo": true,

 // WARNING: Node.js is required! Only skip if you already have Node.js installed on server.

 "setupNode": true,

 // WARNING: If nodeVersion omitted will setup 0.10.36 by default. Do not use v, only version number.

 "nodeVersion": "0.10.36",

 // Install PhantomJS in the server

 "setupPhantom": true,


 // Application name (No spaces)

 "appName": "app",


 // Location of app (local directory)

 "app": "../",


 // Configure environment


 "env": {


 "ROOT_URL": "http://localhost",

 "PORT": 3000,

 "UPSTART_UID" : "meteoruser",

 "MAIL_URL": "smtp://username:password@smtp.sendgrid.net:587",

 "METEOR_ENV": "production"

 },


 // Meteor Up checks if the app comes online just after the deployment


 // before mup checks that, it will wait for no. of seconds configured below


 "deployCheckWaitTime": 15


}
Because our server is blank with the exception of nginx, we’re letting mup do all the installation stuff for us. Yes, that’s right, it will install node.js, mongodb and phantom.js for us automatically. To allow mup to do this, make sure all of the boolean values (setupNode, setupMongo, setupPhantom) in the document are set to true.
Included in our mup.json file is also a mail_url. We use sendgrid, you may choose something else or leave out “MAIL_URL” altogether.
Now that you’ve entered the server IP as your host and entered your username and password, save this file and run:
mup setup
This may take some time, but after it’s done your terminal will look like this:
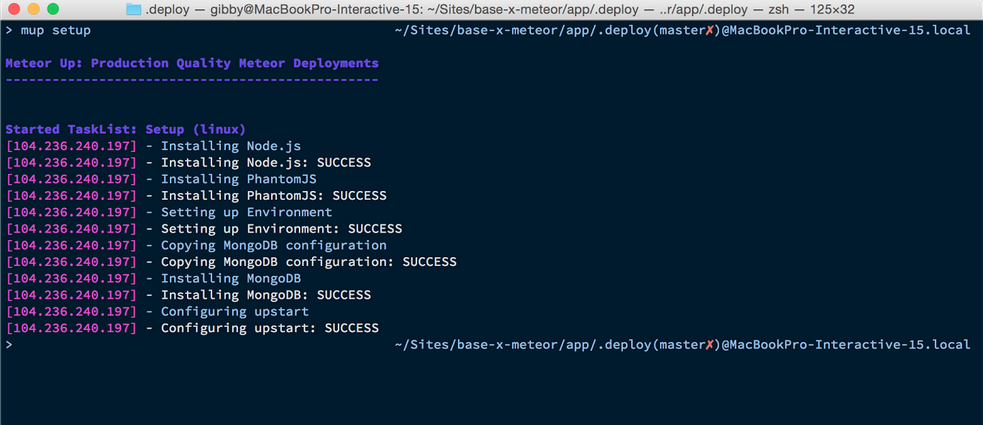
Now that our droplet has been set up we can deploy. This process takes a while, so go grab a cup of coffee.
mup deploy
Once that is complete, you will see the following screen.
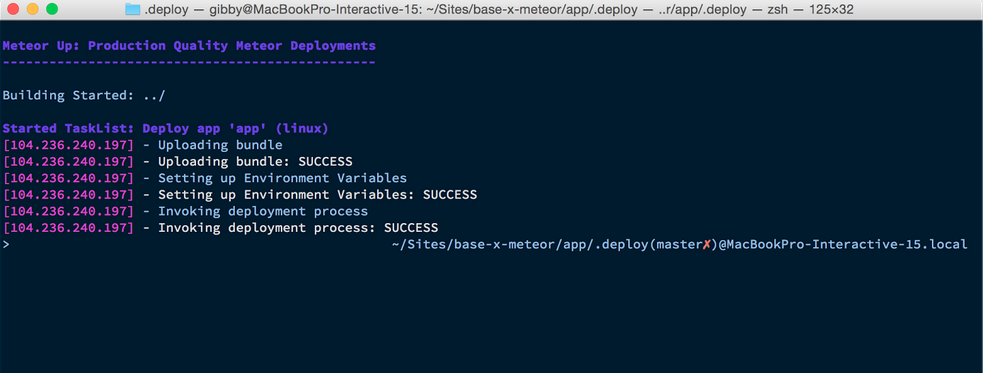
To check that your app is up and running, you can first enter mup logs into your terminal. This will show you the logs from your node server. But we’re not really interested in that, we want to see our app actually up and live. So let’s check by visiting our IP address.
You’ll notice that all you see is the welcome to nginx screen. But what if we attach a port to our IP? Try your IP with port 3000 attached (remember we used this in our mup.json setting). The url you’re trying to visit will look something like http://0.0.0.0:3000. This will show your app running.
To set up a proper URL and also remove port numbers we will have to go back into nginx’s settings. If you’re familiar with servers, what we’re doing is forwarding requests to a different port.
From your command line, SSH back into your droplet and create a file in nginx’s sites-enabled directory called yourappname.com.conf
sudo nano /etc/nginx/sites-enabled/yourappname.com.conf
This will bring up the nano text editor. From here you’ll paste in the following code:
server{
 listen 80;

 # this could be your IP address, a subdomain or a full domain
 server_name yourdomain.com;

 access_log /var/log/nginx/app.dev.access.log;
 error_log /var/log/nginx/app.dev.error.log;

 location / {
 proxy_pass http://127.0.0.1:3000;
 proxy_http_version 1.1;
 proxy_set_header Upgrade $http_upgrade;
 proxy_set_header Connection 'upgrade';
 proxy_set_header X-Forwarded-For $remote_addr;
 }

}
To save hit CTRL + X, then enter, then Y. The next step would be to restart nginx, but we’re first going to add a small security step known as security via obscurity. What this means is we’ll be simply be hiding the nginx version number. To do this we need to edit the master nginx config file. We can find out where this file is by typing in nginx -t into terminal. You should see something like:
nginx: the configuration file /etc/nginx/nginx.conf syntax is ok
nginx: configuration file /etc/nginx/nginx.conf test is successful
To edit that config file type in
sudo nano /etc/nginx/nginx.conf
Uncomment the line:
server_tokens off;
Close and save this file. Now you can restart nginx using:
service nginx restart
And you’re officially done. Visit your IP address without a port and you should see your app up and running.
XDesign, Inc.
8530 Quarters Lake Road
Baton Rouge, LA 70809
225.928.9999